Copyright 2021-2023 Moddable Tech, Inc.
Revised: May 30, 2023
This document describes how to start building Moddable applications for the Raspberry Pi Pico. It provides information on how to configure host build environments, how to build and deploy apps, and includes links to external development resources.
Note: The Pico port is solid and mostly complete. Possible future work includes:
- Mods
- JavaScript Atomics
- Web Workers making use of the second core
- PIO integration
- Building on Windows
Please see the Raspberry Pi Pico documentation for details.
Before you can build applications, you need to:
- Install the Moddable SDK and build its tools
- Install the required development tools for the Raspberry Pi Pico platform
The instructions below will have you verify your setup by running the helloworld example on your device using mcconfig, a command line tool that builds and runs Moddable applications.
See the Tools documentation for more information about mcconfig
When building with mcconfig, you specify your device target by providing the platform identifier of your development board to the -p argument. For example, use the following command to build for the Pico Display:
mcconfig -d -m -p pico/pico_display
A list of available Pico subplatforms and their platform identifiers is provided in the Platforms section below.
The Raspberry Pi Pico has the following features:
- RP2040 microcontroller running up to 133 MHz
- Dual-core ARM Cortex M0+
- 264 KB RAM
- 2 MB flash
The Moddable SDK supports devices built with the Pico. The following table lists each device, its platform identifier, a list of key features specific to the device, and links to additional resources.
| Name |
Platform identifier |
Key features |
Links |
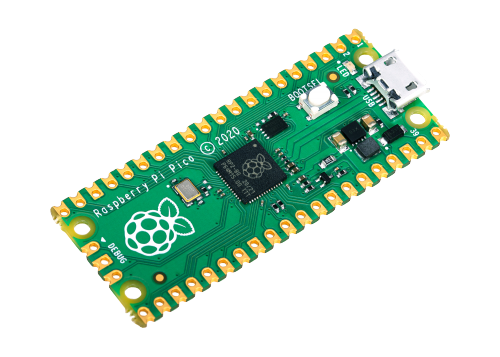
Rasberry Pi
Pico |
pico |
LED, 26 external pins |
Raspberry Pi Pico documentation |
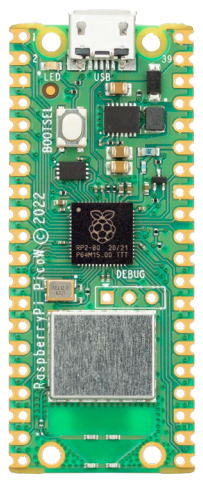
Rasberry Pi
Pico W |
pico/pico_w |
Wi-Fi, LED, 26 external pins |
Raspberry Pi Pico documentation |
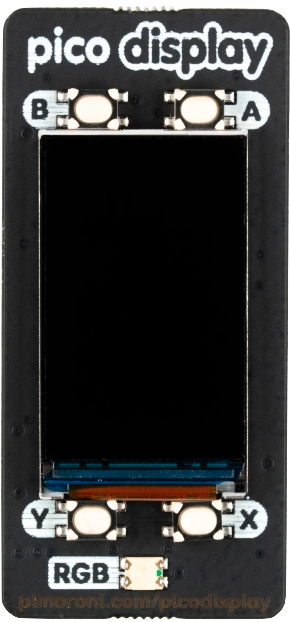
Pimoroni
Pico Display |
pico/pico_display
simulator/pico_display
|
1.4" IPS display
135 x 240
16-bit color
4 buttons
RGB LED |
Pimoroni Pico Display |
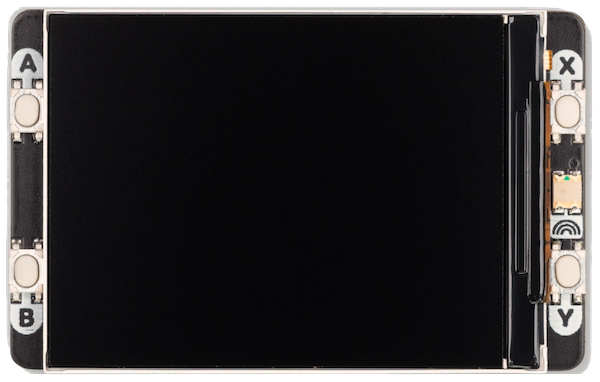
Pimoroni
Pico Display 2 |
pico/pico_display_2
simulator/pico_display_2
|
2.0" IPS display
320 x 240
16-bit color
4 buttons
RGB LED |
Pimoroni Pico Display 2 |
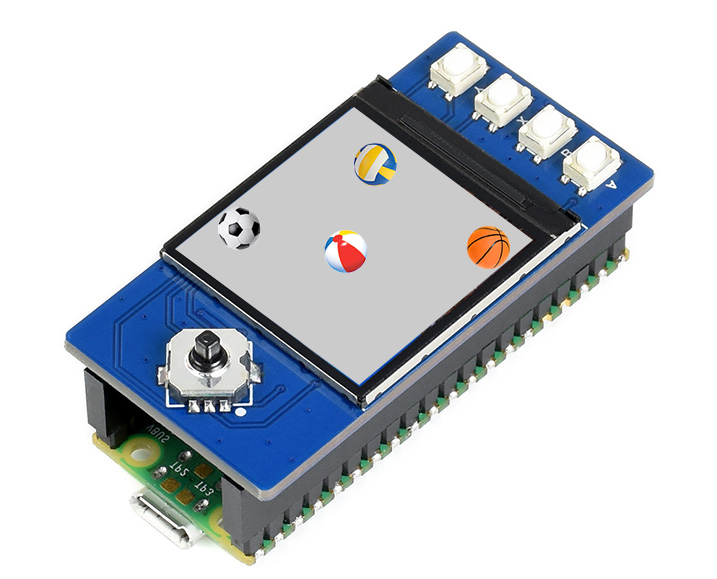
Waveshare
Pico LCD 1.3 |
pico/pico_lcd_1.3 |
1.3" IPS display
240 x 240
16-bit color
4 buttons
1 joystick |
Waveshare Pico LCD 1.3 |
Adafruit
ItsyBitsy RP2040 |
pico/itsybitsy |
Neopixel, 1 button |
Adafruit product page |
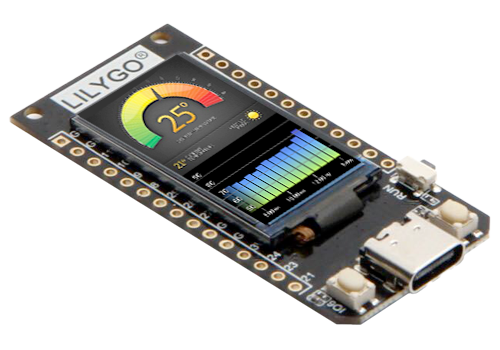
LILYGO
T-Display RP240 |
pico/lilygo_t_display |
1.14" ST7789, 2 buttons, red LED |
LilyGO T-Display GitHub repository |
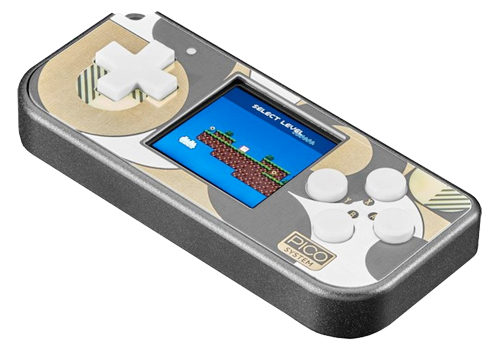
Pimoroni
PicoSystem |
pico/picosystem |
1.54" IPS LCD, 240 x 240, D-pad & 4 buttons, RGB LED |
Pimoroni product page |
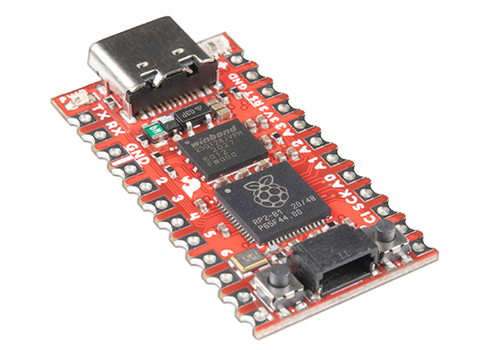
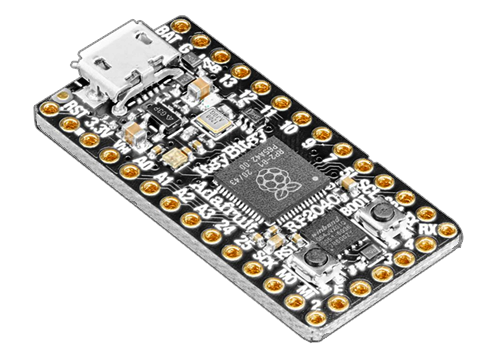
Sparkfun
Pro Micro RP2040 |
pico/pro_micro |
Qwiic/STEMMA connector, Neopixel |
Sparkfun product page |
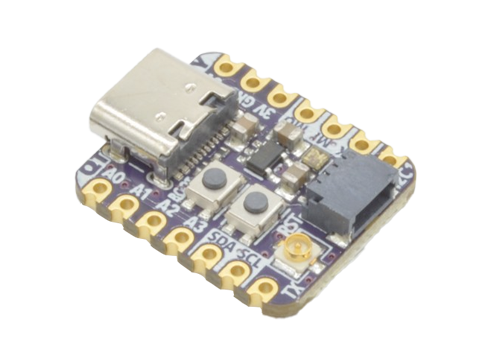
Adafruit
QT Py |
pico/qtpy |
STEMMA/Qwiic connector, Neopixel, 1 button |
Adafruit product page |
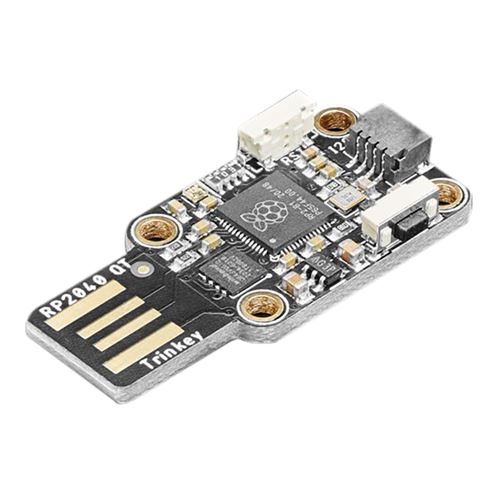
Adafruit
Trinkey QT2040 |
pico/qt_trinkey |
STEMMA/Qwiic connector, Neopixel, 1 button |
Adafruit product page |
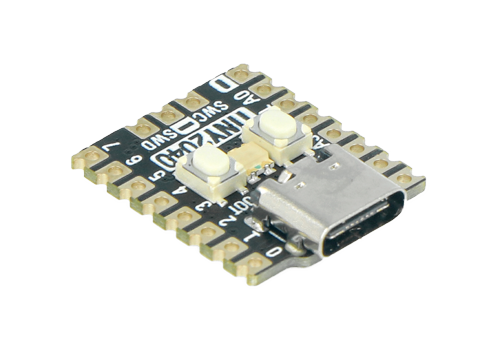
Pimoroni
Tiny 2040 |
pico/tiny2040 |
RGB LED, 1 button |
Pimoroni product page |
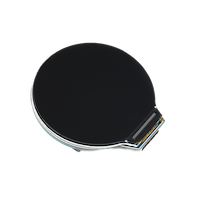
WAVESHARE
1.28inch Round LCD |
pico/ws_round
pico/ws_round_touch
|
1.28" IPS 240×240 Round Display |
WAVESHARE product page
touch LCD version
|
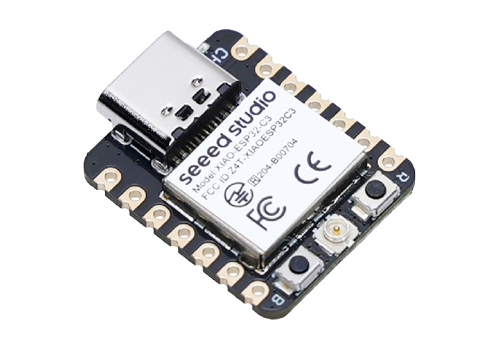
Seeed Studio
XIAO RP2040 |
pico/xiao_rp2040 |
Neopixel |
Seeed Studio product page |
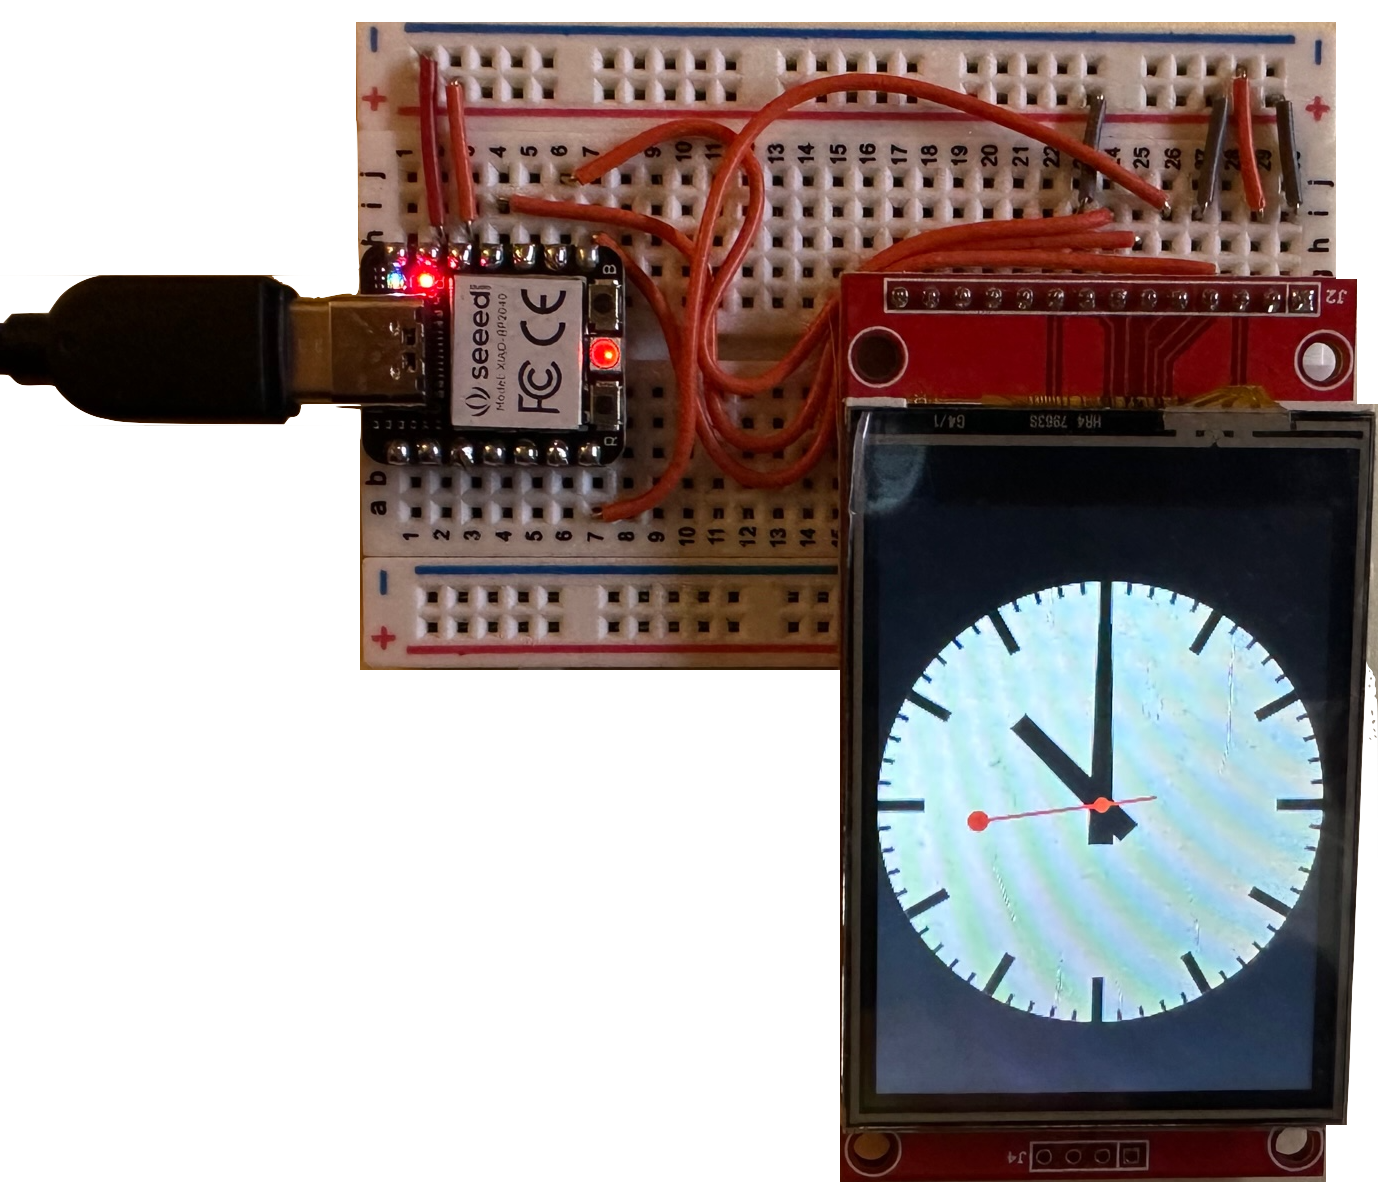
ili9341 |
pico/xiao_ili9341 |
ili9341 QVGA display
320 x 240
16-bit color |
Wiring Guide - Pico |
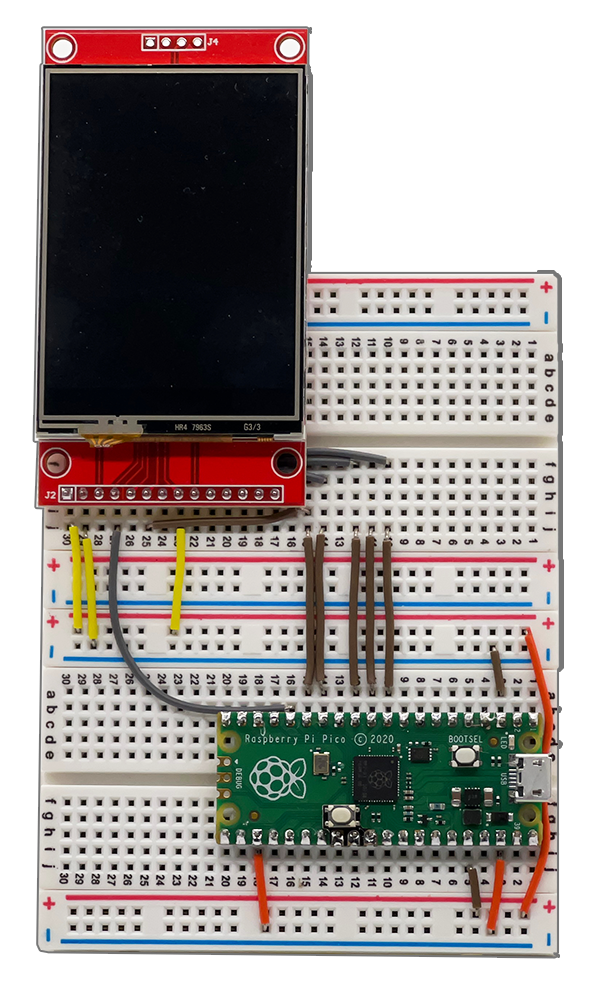
ili9341 |
pico/ili9341 |
ili9341 QVGA display
320 x 240
16-bit color |
Generic 2.4" & 2.8" Displays (Resistive Touch) Wiring Guide - Pico |
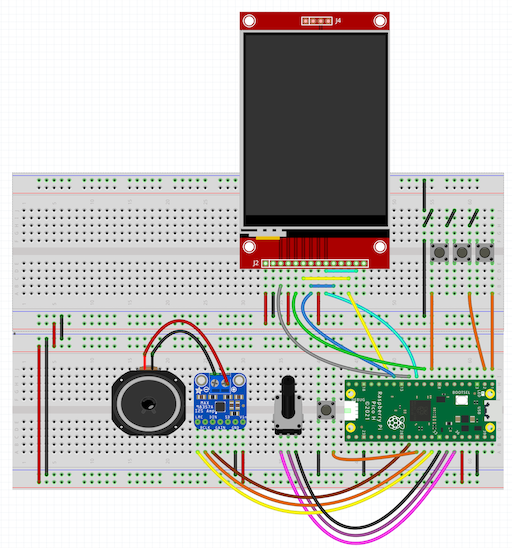
ili9341 |
pico/ili9341_i2s |
ili9341 QVGA display
320 x 240
16-bit color
potentiometer, buttons
i2s audio |
Wiring Guide |
pico-ili9341-i2s-thumb.png
Most of steps these are condensed from the Raspberry Pi Pico C SDK document. Refer to the document for details.
-
The Moddable SDK Getting Started document describes how to configure the host build environment and install the required SDKs, drivers, and development tools. Follow the instructions in the Host environment setup section for macOS.
-
Set up the Pico SDK
Create a pico directory in your home directory at ~/pico for required third party SDKs and tools.
cd $HOME
mkdir pico
-
Install required components using brew.
brew install cmake
brew tap ArmMbed/homebrew-formulae
brew install arm-none-eabi-gcc
-
Set PICO_GCC_ROOT environment variable to point to the bin directory of your arm-none-eabi toolchain. For macOS, it is set to brew --prefix; typically this is /usr/local on x86_64 architecture and /opt/homebrew on arm64.
export PICO_GCC_ROOT=$(brew --prefix)
-
Install the pico sdk, extras and examples:
cd $HOME/pico
git clone -b 1.5.0 https://github.com/raspberrypi/pico-sdk
cd pico-sdk
git submodule update --init
cd $HOME/pico
git clone -b sdk-1.5.0 https://github.com/raspberrypi/pico-extras
cd $HOME/pico
git clone -b sdk-1.5.0 https://github.com/raspberrypi/pico-examples
-
Set the PICO_SDK_DIR environment variable to point to the Pico SDK directory:
export PICO_SDK_DIR=$HOME/pico/pico-sdk
-
Build some pico tools:
cd $PICO_SDK_DIR
mkdir build
cd build
cmake ..
make
After you've setup your macOS host environment, take the following steps to install an application on your Pico.
-
Build and deploy the app with mcconfig.
mcconfig is the command line tool to build and launch Moddable apps on microcontrollers and the simulator. Full documentation of mcconfig is available here.
Specify the platform -p pico with mcconfig to build for the Pico. Build the helloworld example:
cd $MODDABLE/examples/helloworld
mcconfig -d -m -p pico
The app will be built and installed. xsbug will be launched and connected to the Pico after a few seconds.
Note: If the device is unresponsive, you may see this message:
 Hold the BOOTSEL button and power-cycle the device.
 Waiting for /Volumes/RPI-RPI2.....
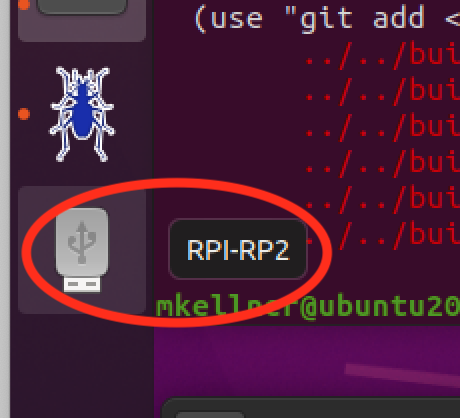
Put the device into programming mode by holding the BOOTSEL button when powering on the Pico.
You will know that programming mode is active when a disk named RPI-RP2 appears on your desktop.
Not yet available.
Not yet available.
Note: This setup was performed on a Ubuntu 20 VM using VirtualBox.
Most of steps these are condensed from the Raspberry Pi Pico C SDK document. Refer to the document for details.
-
The Moddable SDK Getting Started document describes how to configure the host build environment and install the required SDKs, drivers, and development tools. Follow the instructions in the Host environment setup section for Linux.
-
Set up the Pico SDK
Create a pico directory in your home directory at ~/pico for required third party SDKs and tools.
cd $HOME
mkdir pico
-
Install required components using apt.
sudo apt update
sudo apt install cmake gcc-arm-none-eabi libnewlib-arm-none-eabi build-essential
-
Set PICO_GCC_ROOT environment variable to point to the bin directory of your arm-none-eabi toolchain. For Ubuntu 20, it is set to /usr.
export PICO_GCC_ROOT=/usr
-
Install the pico sdk, extras and examples:
cd $HOME/pico
git clone -b 1.5.0 https://github.com/raspberrypi/pico-sdk
cd pico-sdk
git submodule update --init
cd $HOME/pico
git clone -b sdk-1.5.0 https://github.com/raspberrypi/pico-extras
cd $HOME/pico
git clone -b sdk-1.5.0 https://github.com/raspberrypi/pico-examples
-
Set the PICO_SDK_DIR environment variable to point to the Pico SDK directory:
export PICO_SDK_DIR=$HOME/pico/pico-sdk
-
Build some pico tools:
cd $PICO_SDK_DIR
mkdir build
cd build
cmake ..
make
After you've setup your Linux host environment, take the following steps to install an application on your Pico.
-
Put the device into programming mode by holding the BOOTSEL button when powering on the Pico.
Make sure you're using a data-sync capable cable, not one that is power-only.
Note: a USB hub with power switch is very helpful here.
You will know that programming mode is active when a disk named RPI-RP2 appears on your desktop.
Note: For best results with a virtual machine, capture the Pico device in both the Boot mode state and running state. The image below shows the configuration in VirtualBox:

-
Build and deploy the app with mcconfig.
mcconfig is the command line tool to build and launch Moddable apps on microcontrollers and the simulator. Full documentation of mcconfig is available here.
Specify the platform -p pico with mcconfig to build for the Pico. Build the helloworld example:
cd $MODDABLE/examples/helloworld
mcconfig -d -m -p pico
The app will be built and installed. xsbug will be launched and connected to the Pico after a few seconds.
Refer to the Getting Started With Pico for
instructions on setting up your hardware.
These instructions have been tested on a macOS host using the two Pico SWD setup described in Appendix A: Using Picoprobe.
-
Build pico-openocd as described in the document.
-
In a console, start openocd and set the console aside.
cd ~/pico/openocd
~/pico/openocd/src/openocd -f interface/picoprobe.cfg -f target/rp2040.cfg -s tcl
-
In another console, change the directory to the build results directory and start gdb:
cd $MODDABLE/build/bin/pico/debug/<app>
arm-none-eabi-gdb xs_pico.elf
-
Connect to openocd. load the app. reset the device.
(gdb) target remote localhost:3333
(gdb) load
(gdb) monitor reset init
(gdb) continue
Getting started with Raspberry Pi Pico
Hardware Design with RP2040
Raspberry Pi Pico C SDK